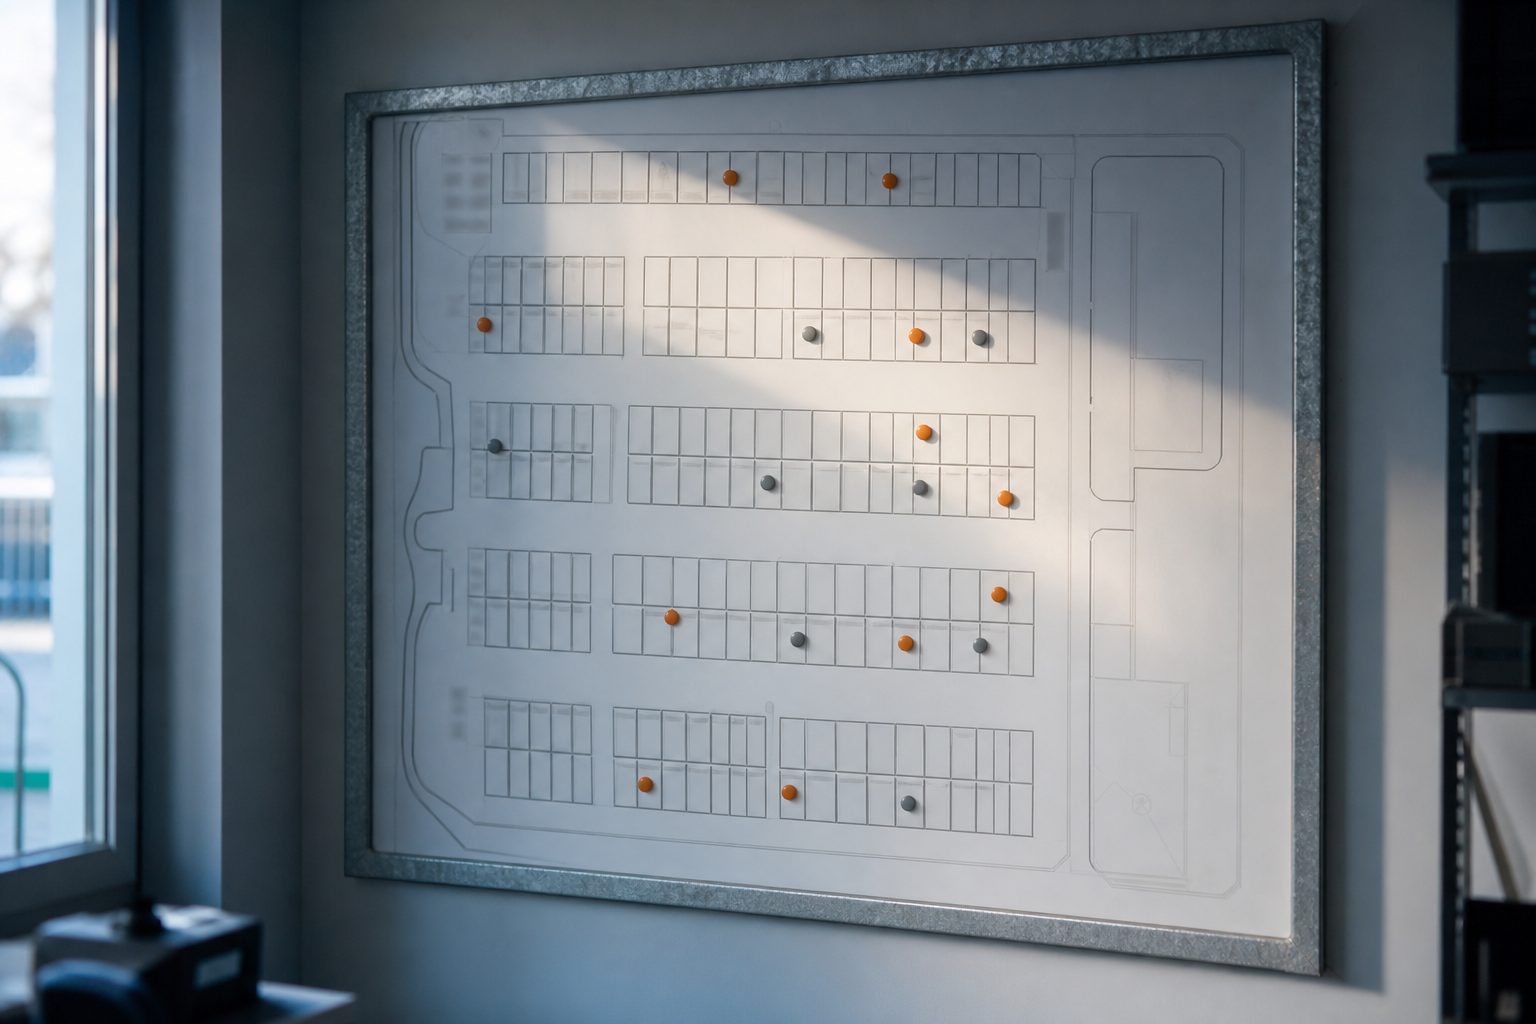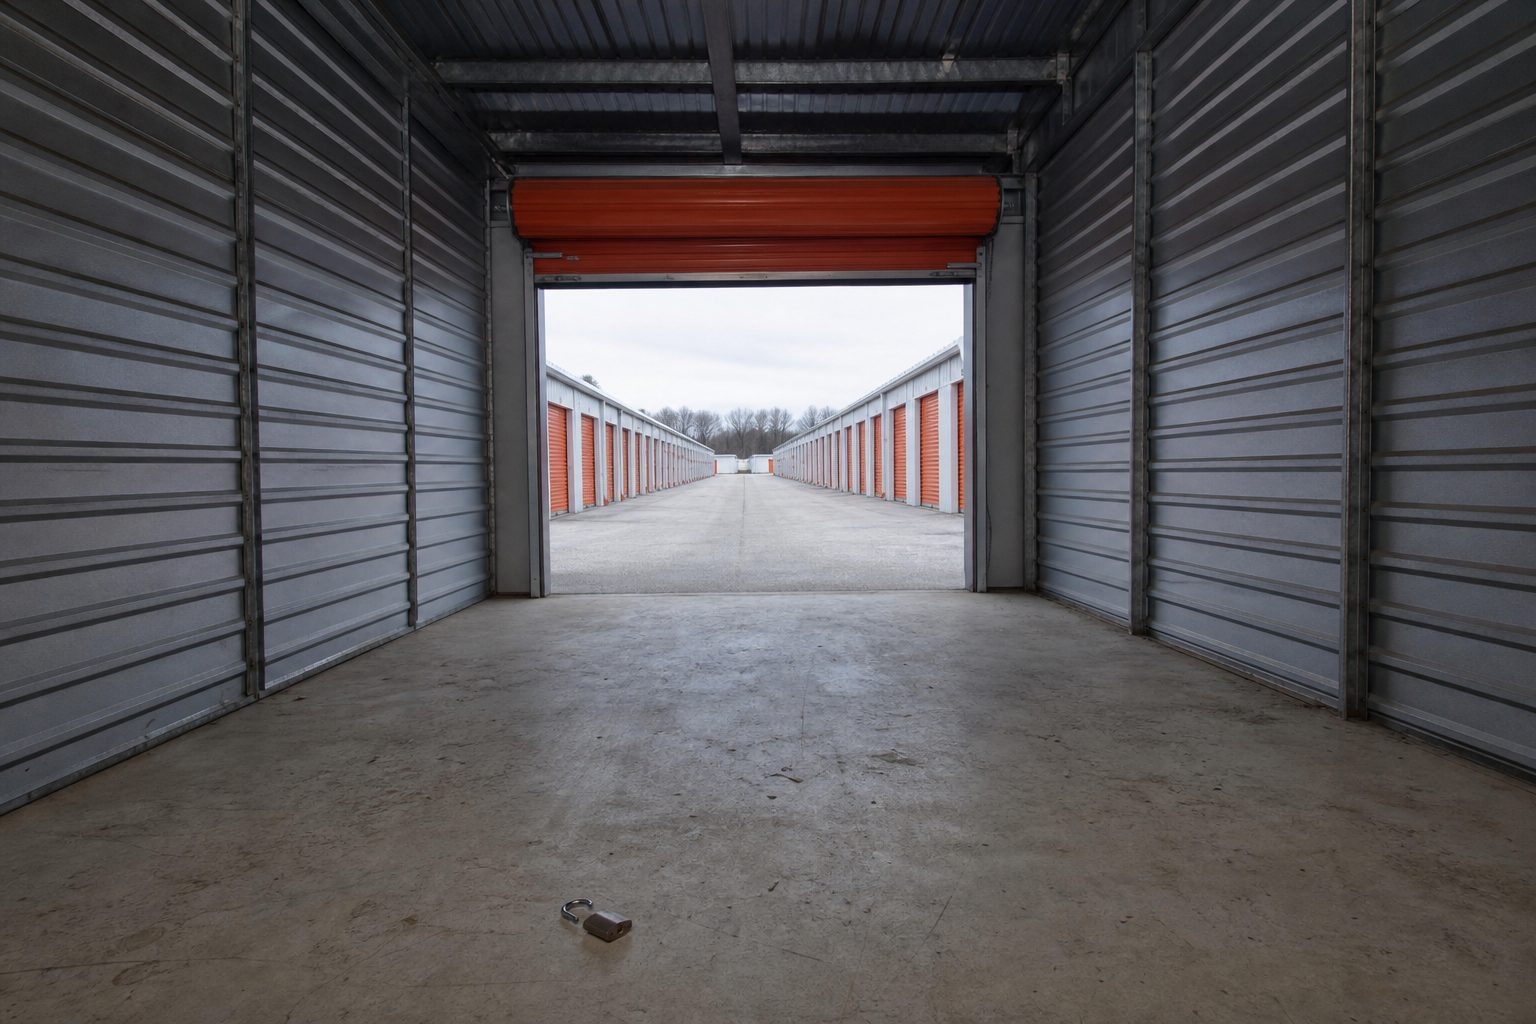
Before you walk: printing the unit map, the overlock list, and the vacant list
Every monthly facility inspection starts in the office. Print a current site map that shows every unit by number and highlights vacant units. Pull a report of all overlocked units as of that morning. Have a separate list of vacant units, those that are truly empty, not just unpaid or unrented.
These three documents work together in the field. The map keeps you from missing isolated corners or units that are easy to overlook. The overlock list flags which units are supposed to be locked for delinquency, so you can spot mistakes. The vacant list helps focus your attention on units that should have no contents or personal locks.
Some operators use a clipboard and pen, while others prefer a tablet with PDF markups. What matters is that you have a complete reference in your hands as you walk.
Keep reading: Economic Occupancy, Rent per Square Foot, and Expense Ratio Explained
Unit by unit lock check, seal check, and the vacant unit sweep
Start with the first row and work methodically. For each occupied unit, verify that the lock is present and matches type expectations. Watch for missing, cut, or swapped locks. If a unit on your overlock list is missing its red lock, note it for follow-up.
Units with tamper-evident seals need a close look. Check for broken seals, mismatched numbers, or seals replaced with aftermarket versions. On units with cylinder locks, test to see if the cylinder has been tampered with or drilled.
Vacant units deserve special attention. Open the door fully and look inside for left-behind property, trash, or evidence of pest activity. Sweep out debris, note any odor, and check for water stains or floor damage. Confirm that the door closes and latches properly, and that no tenant lock remains on a supposed vacant.
Roll up doors: springs, rollers, latches, and the ones that bind in the cold
With each door you open, pay attention to how it moves. Springs should assist the lift evenly and not snap back or feel slack. Rollers must turn smoothly. Latches need to engage without extra force and stay secure after closing.
In cold weather, note any doors that resist opening or closing. Metal contracts and weatherstrip stiffens, so a door that works in June may bind in January. Mark these units for maintenance, lubrication, or spring adjustment. Listen for grinding or scraping, which can signal a roller coming off its track or a misaligned drum.
Check the bottom bar for gaps that could let in water or rodents. If the door doesn't seal to the floor, flag it for weatherstripping. Consistent door inspections reduce emergency calls and keep tenants happy.
Keep reading: The Morning After a Cut Lock Burglary: Police, Cameras, and Claims
Roof, gutters, and finding where water is really entering the building
Roof leaks are a leading cause of tenant claims. Inspect from both inside and outside. Walk the perimeter and look for fresh water stains, streaks, or rusty lines on exterior walls. Inside, check the ceiling of each unit for damp spots, peeled paint, or mold. Water rarely enters directly overhead, it can migrate along purlins or beams before dripping down far from its source.
Test gutters and downspouts for clogs. Pour a bucket of water in uphill from a suspected trouble spot. Watch where it emerges. Clear out accumulated leaves, mud, or bird nests. Make sure the downspout discharges away from the building foundation. Splash blocks or extensions help keep water moving off the pad.
Document any roof penetrations, skylights, or HVAC curbs that may be aging or have deteriorated sealant. These spots are frequent culprits for mysterious leaks.
Drive aisles, striping, bollards, speed bumps, and the gate track
Drive the property and walk the main aisles. Look for potholes, cracks, or areas that pond after rain. Mark faded striping and missing numbering at unit doors, clear marking helps tenants find their space and reduces confusion after dark.
Check bollards for impact damage, bent posts, or loose anchors. Replace missing or broken caps. Speed bumps should be secure and visible, not crumbling or hidden by leaves. If your property has concrete wheel stops, verify they have not drifted into driving lanes or become tripping hazards.
The gate track needs a monthly cleaning. Remove gravel, leaves, and ice. A clogged or bent gate track causes operators to strain, wear out, or fail. Lubricate the track or wheels only with the product recommended by your gate vendor, never use grease on a guide rail unless specified.
See how GateCodeDesk handles this for self storage
Cameras, lighting levels, and the blind corners that only appear after dark
Security cameras should be clean, pointed correctly, and still connected to their mounts. Look for spider webs or dust on the lenses. Verify that each camera is recording and that the image shows a clear view of its intended target area. Test playback on site to confirm footage is being stored, not just streamed.
Walk the site after sunset at least once a month. Note any bulbs out, fixtures flickering, or dark stretches between poles. LED floods and wall packs last for years, but even the best need replacement eventually. Motion sensors should trip reliably as you pass.
Pay particular attention to corners, alleys, and rear units that may be hidden from the main drive. These are favored spots for break-ins and illegal dumping. If you find a recurring blind spot, consider moving a camera or adding a new light fixture.
Gate operator safety: photo eyes, reversing edges, and the monthly reversal test
Gate safety features need regular testing. Photo eyes, which stop the gate when the beam is blocked, should be clear of mud, snow, and spider webs. Wipe both emitter and receiver. If the beam is misaligned, realign it until the indicator shows a good signal.
Reversing edges, rubber strips that cause the gate to stop and reverse if they hit an object, should compress and trigger the reversal without excessive force. Test this by holding a cardboard box in the gate's path and closing the gate. The gate should stop and back away immediately.
Every month, perform a full reversal test. Start the gate closing, then break the photo eye beam or press on the edge. If the gate does not reverse, do not operate it until repairs are made. Document the result of each test, including who performed it and when. This record can be crucial if an accident ever occurs.
Writing it up: work orders, dated photos, and what goes to which vendor
As you complete your walk, consolidate your notes. Take dated photos of every issue: broken locks, damaged doors, water entry, and lighting outages. These images serve as proof of condition and help vendors quote repairs remotely.
Sort tasks by urgency and specialty. Immediate safety or security issues go to the top of the list, these may require same-day calls to locksmiths, electricians, or gate techs. Routine maintenance goes to your regular handyperson or contractor. Keep a file of completed work orders and update it with dates and invoice numbers.
Update your unit map and vacant list with any changes you found, such as newly discovered tenant items in a supposed empty or an overlock that was missing. A corrected record helps avoid future confusion and supports accurate billing.
As more operations move online, tools now exist that update unit status, lockout actions, and vacancy maps in real time. Platforms that combine online leasing, automated code issuance, and delinquency management can make these monthly walks easier to plan and track. The goal remains the same: a safer, cleaner, and better-documented facility for both staff and tenants.